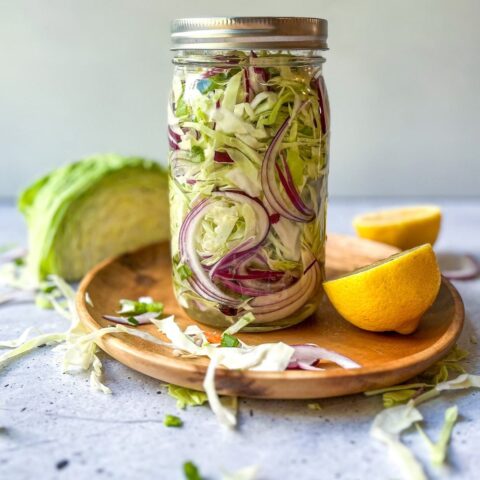
Give your gut health a boost with a spoonful of this tangy, salt-free sauerkraut! This no-salt sauerkraut is lower in sodium, so it’s even healthier than traditional recipes.
Sauerkraut is filled with nutrients that help support your health. You’ll get a hearty punch of vitamins C and K, and even better, sauerkraut is filled with probiotics that are excellent for gut health. In fact, sauerkraut contains more lactobacillus than yogurt, and can help with bloating, constipation, and even ulcerative colitis.
Unfortunately, most storebought sauerkrauts have been pasteurized, which kills off the good bacteria. They also contain more added salt than we recommend having on The Paleo Diet®. Instead, try your hand at fermenting with this salt-free recipe.
You’ll need a wide mouth quart container (a lidded Mason jar works great), a few simple ingredients, and a safe place to let your kraut ferment without getting too hot (ideally, you’ll want it around 60-70°F).
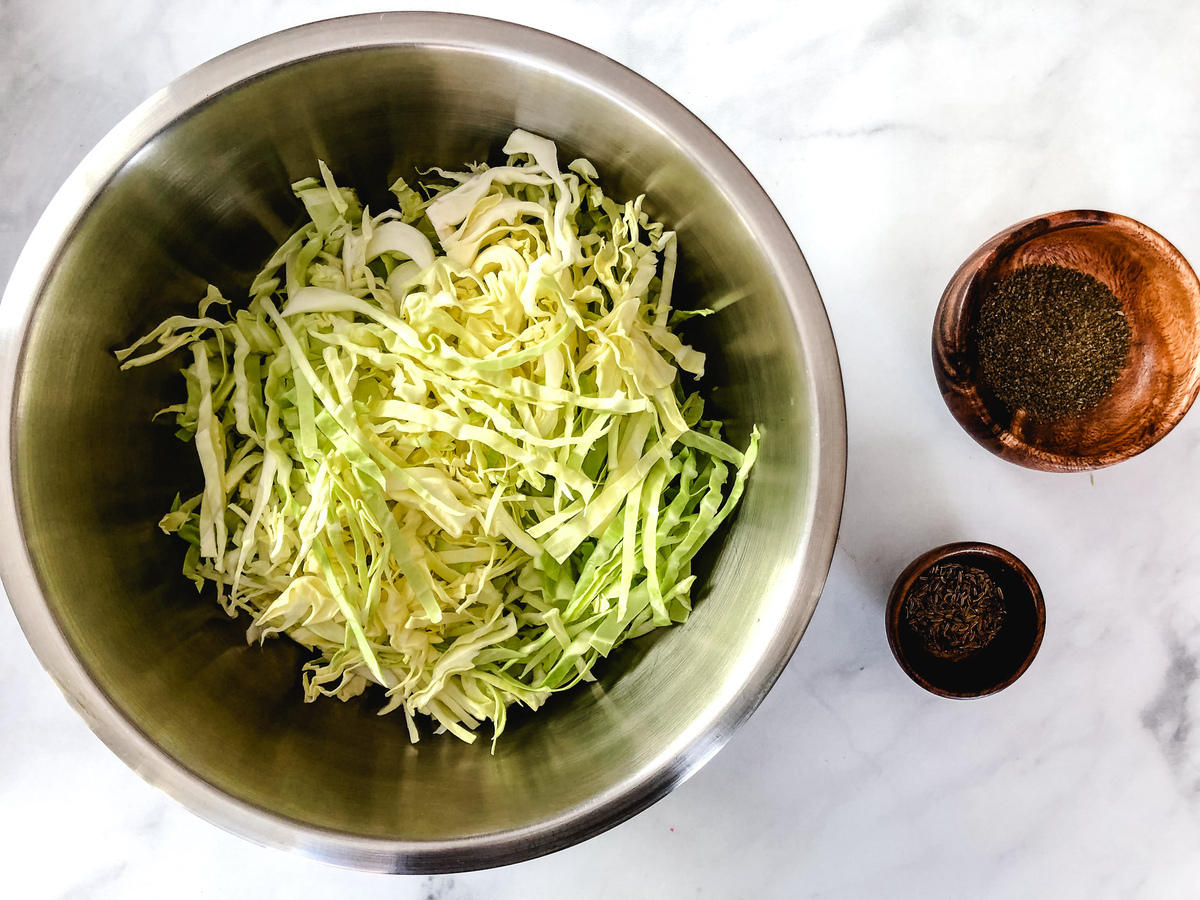
Start by shredding the cabbage either with a sharp knife or using a food processor, depending on how thin you’d like it. Then, massage the cabbage with your hands to help release the liquid. It may take awhile, but keep at it! This natural brine is essential for fermenting.
Since we’re avoiding salt, we use celery seeds, caraway seeds, and black pepper instead to add flavor. You can also add dill seeds if you like.
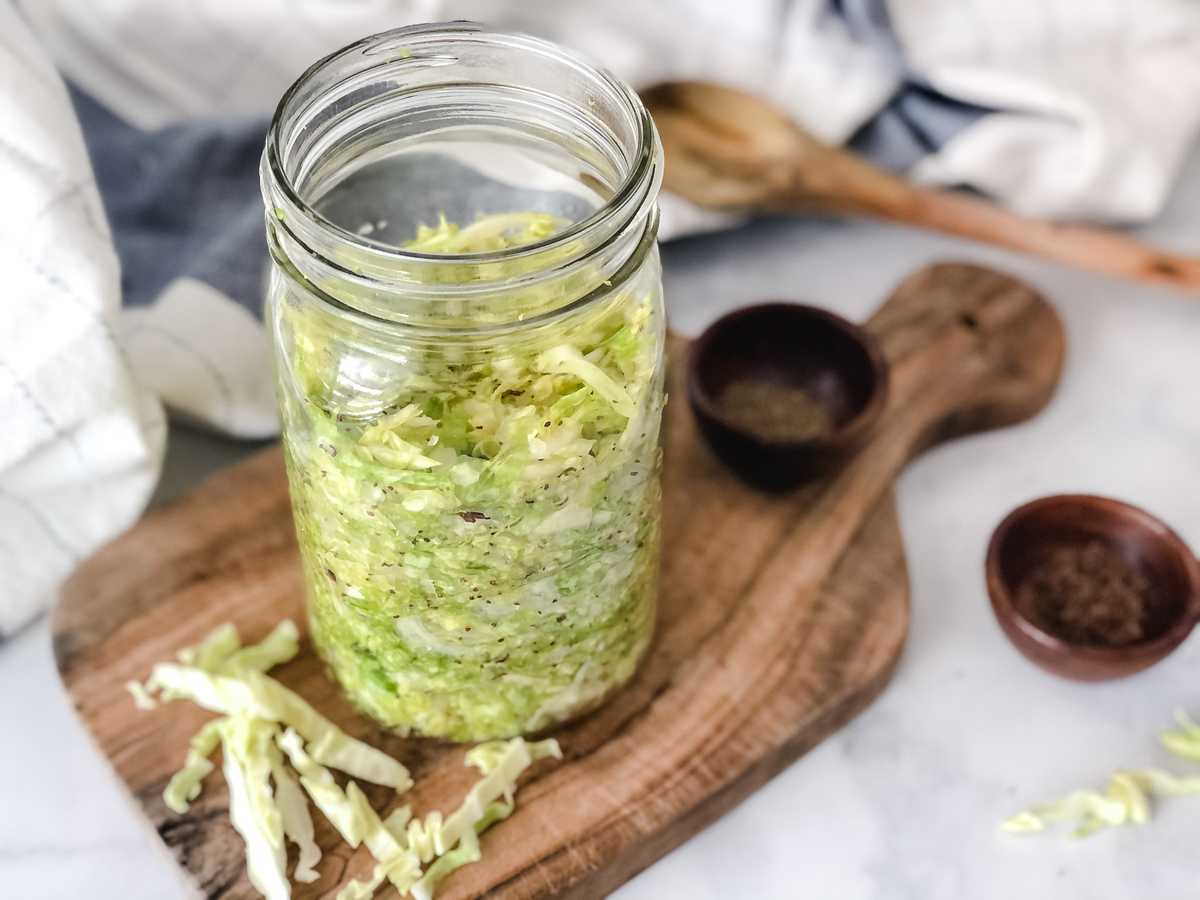
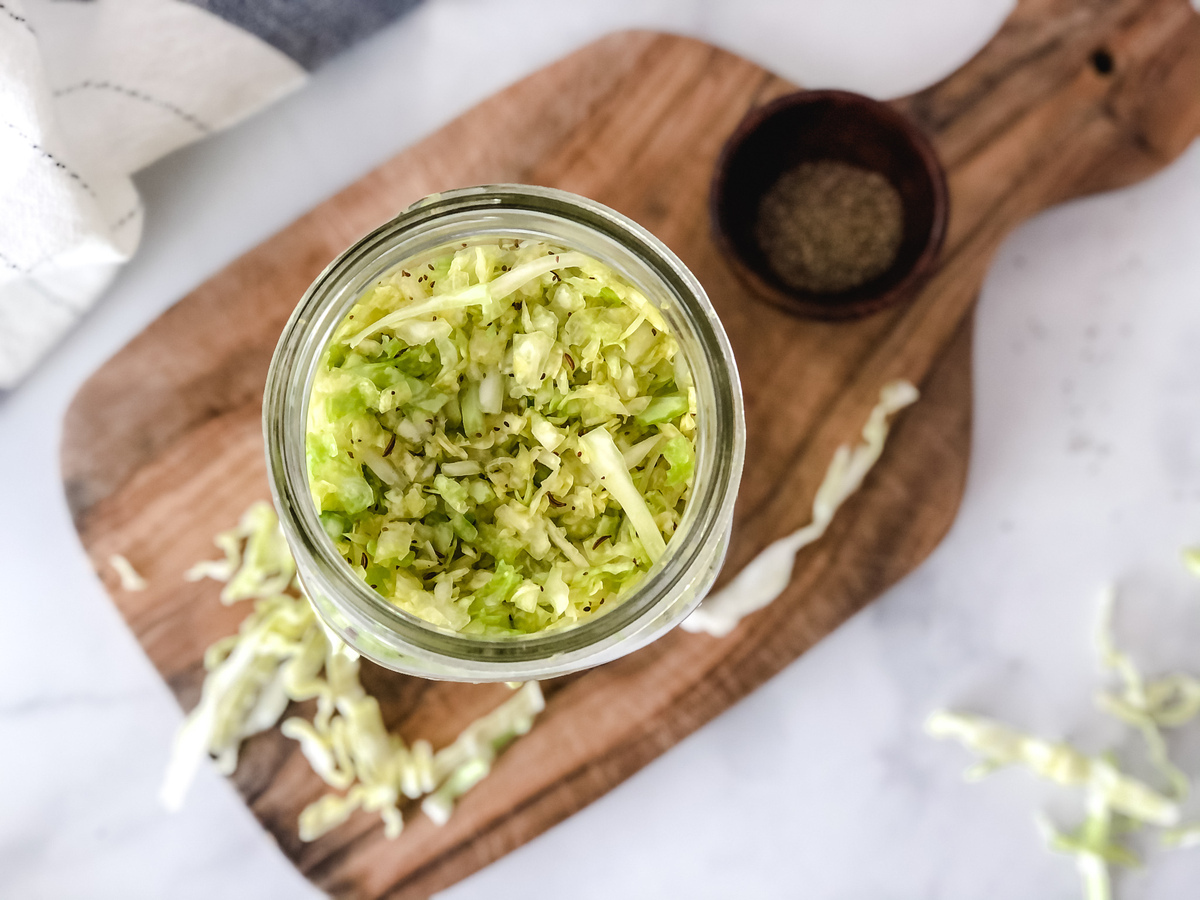
Add the cabbage to the jar with all the liquid, and be sure to keep the veggies submerged to prevent mold or fungus from growing. To do this, set aside a cabbage leaf to fold over the top. Alternatively, you can use a fermentation weight. You can add more water if you need to, but ideally, you’ll want to stick with the natural brine from the cabbage, as this contains a small amount of natural sodium needed for proper fermenting.
Set the jar on the countertop and let it ferment for at least three days, or up to two weeks. Check on it once a day to make sure your sauerkraut stays submerged and looks healthy. You might notice white foam along the top—this is normal and nothing to worry about. Just skim it off and throw it out. If you notice mold of any other color, or if it starts to smell off, trust your gut and discard the whole batch and start again.
Remember, The longer your sauerkraut sits, the tangier it will taste. It should start getting nice and sour within about five days. When it’s finished to your liking, store it in the fridge for up to three months.
Serve your sauerkraut by itself, or alongside your favorite Paleo meals. It would pair great with this sweet and hearty sausage-stuffed acorn squash!
For hundreds of pure Paleo recipes be sure to check out The Real Paleo Diet Cookbook and The Real Paleo Diet Fast and Easy.
Ingredients
1 head green cabbage
1 tsp celery seeds
1 tsp caraway seeds
1 tsp black pepper
Directions
Using a sharp knife, quarter the cabbage and remove the core. Keep one leaf intact and set aside. Slice the rest of the cabbage into long strips, or use a food processer to shred the cabbage.
Add to a large non-metal bowl and sprinkle with caraway seeds, celery seeds, and black pepper. Use your hands (make sure they’re clean) to massage the cabbage until soft and water starts to release—about five minutes.
Pack the cabbage tightly into a clean wide-mouth jar, and push down so the cabbage is immersed in the juice. Fill it to the top, leaving about half an inch of space.
Fold a few cabbage leaves and press over the top to keep the cabbage beneath the brine. You could also use a fermentation weight. Cover with a tight lid, or with a coffee filter secured with a rubber band. Keep at room temperature (about 60-70°F) for three days, or up to two weeks.
Related Recipe