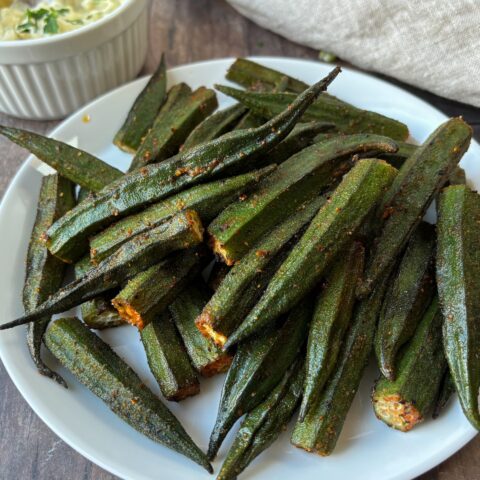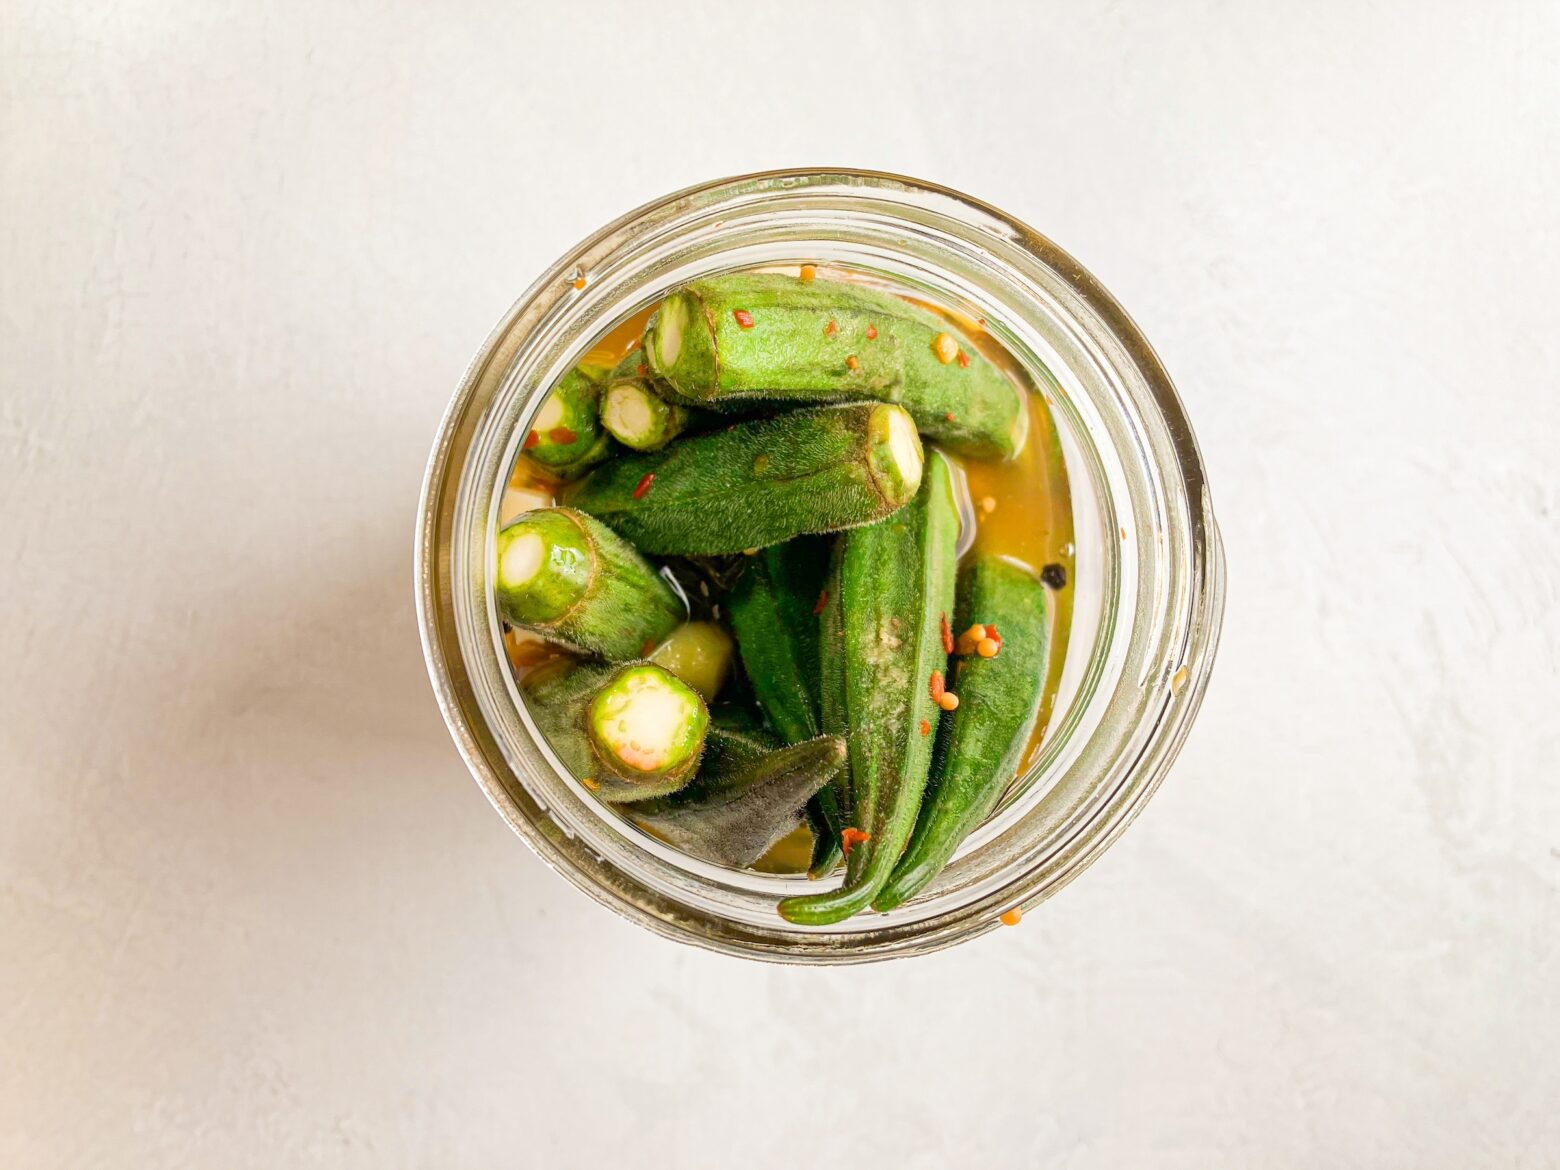
Do you have extra okra you don’t want to go to waste after making okra fries or jambalaya? Try pickling it! Pickling is one of the easiest ways to enjoy leftover fruits and vegetables. The tangy taste of pickled okra goes great on top of salads, bowls, fish dishes, and more.
Okra is mucilaginous, meaning it can adopt a slimy texture with certain cooking methods. However, because we are pickling the okra in vinegar, the high acidity should eliminate the slimy mucilage. (Sautéing chopped okra is another effective way to reduce mucilage.)
Despite its sliminess, okra offers great health benefits. This veggie is filled with antioxidants that can help fight off free radicals in the body. It’s also filled with folate, an important nutrient for pregnant women and great for supporting proper cell growth for babies in the womb.
TIPS:
- Pickled okra will last up to two weeks in the refrigerator.
- Autoimmune Protocol (AIP) omissions and substitutions are listed in the recipe ingredients.
Check out our pickling vegetables page for more no-salt-added pickling inspiration!

Pickled Okra
- Recipe by: Isabella Mead
- Serves: 6
- Meal: Appetizer
- Serves: 6
- Prep Time: 5 minutes
- Cook Time: 10 minutes
- Total Time: 24 hours 20 minutes
Ingredients
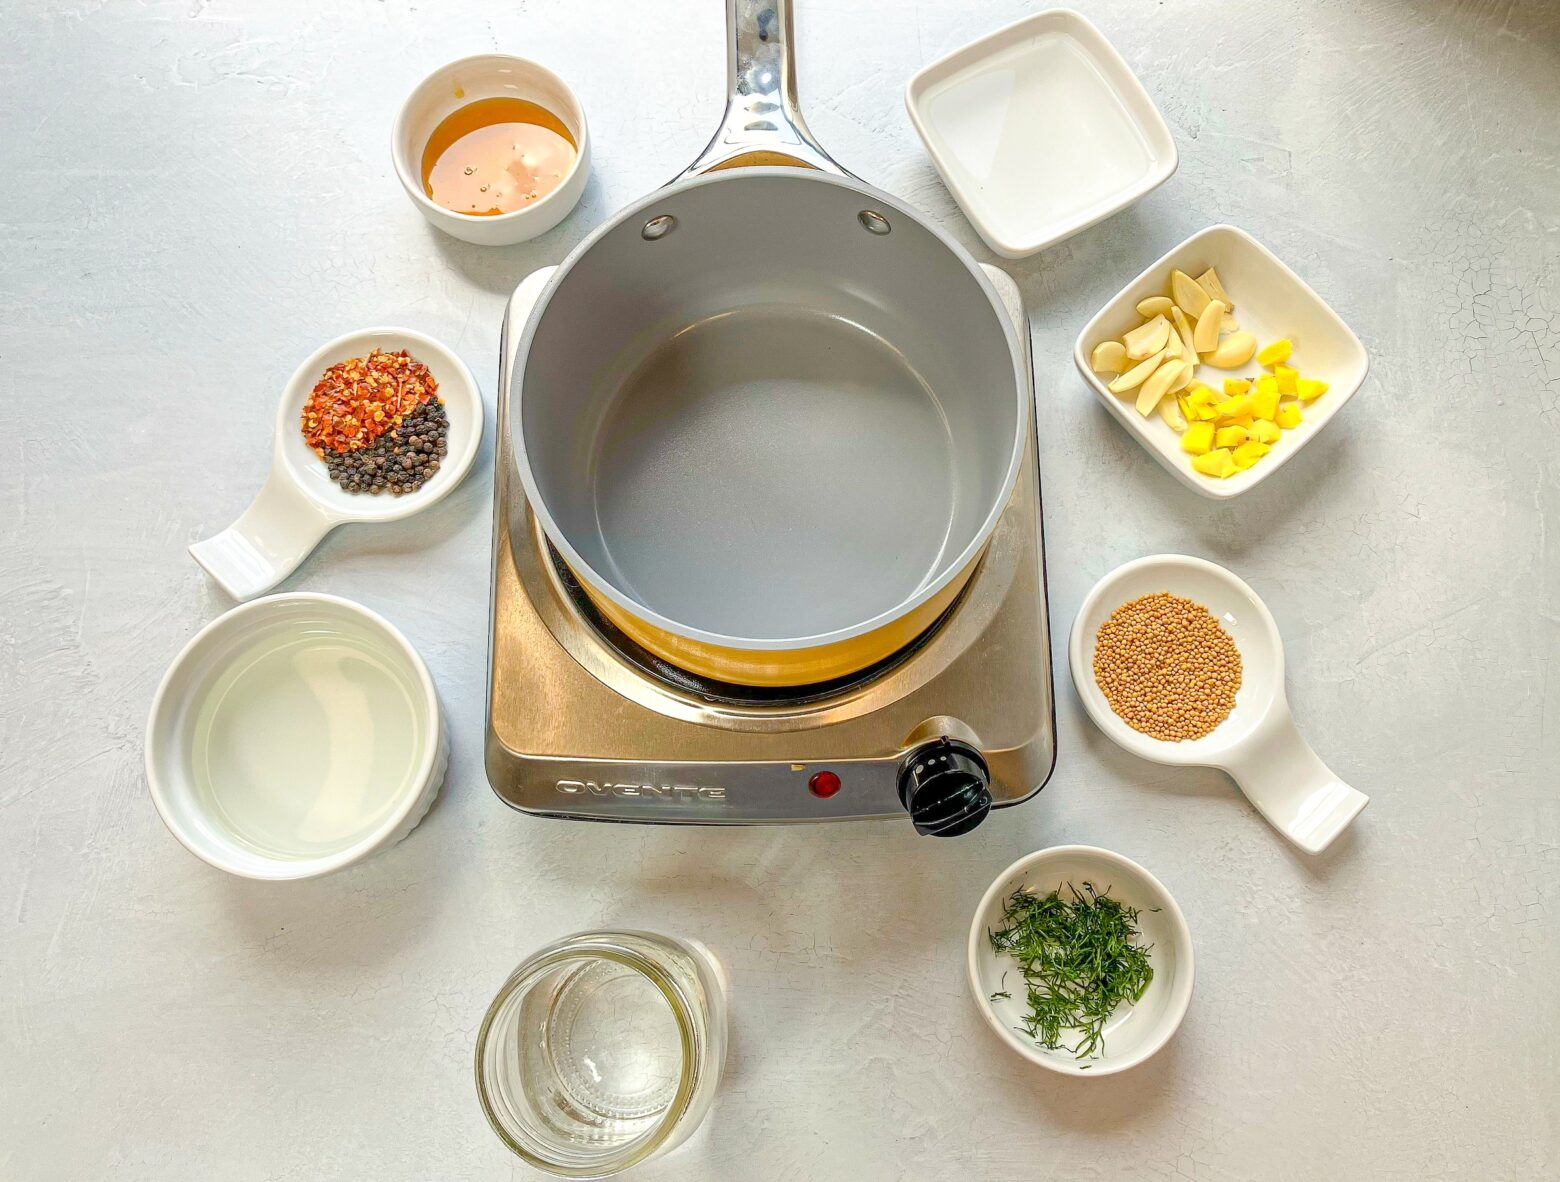
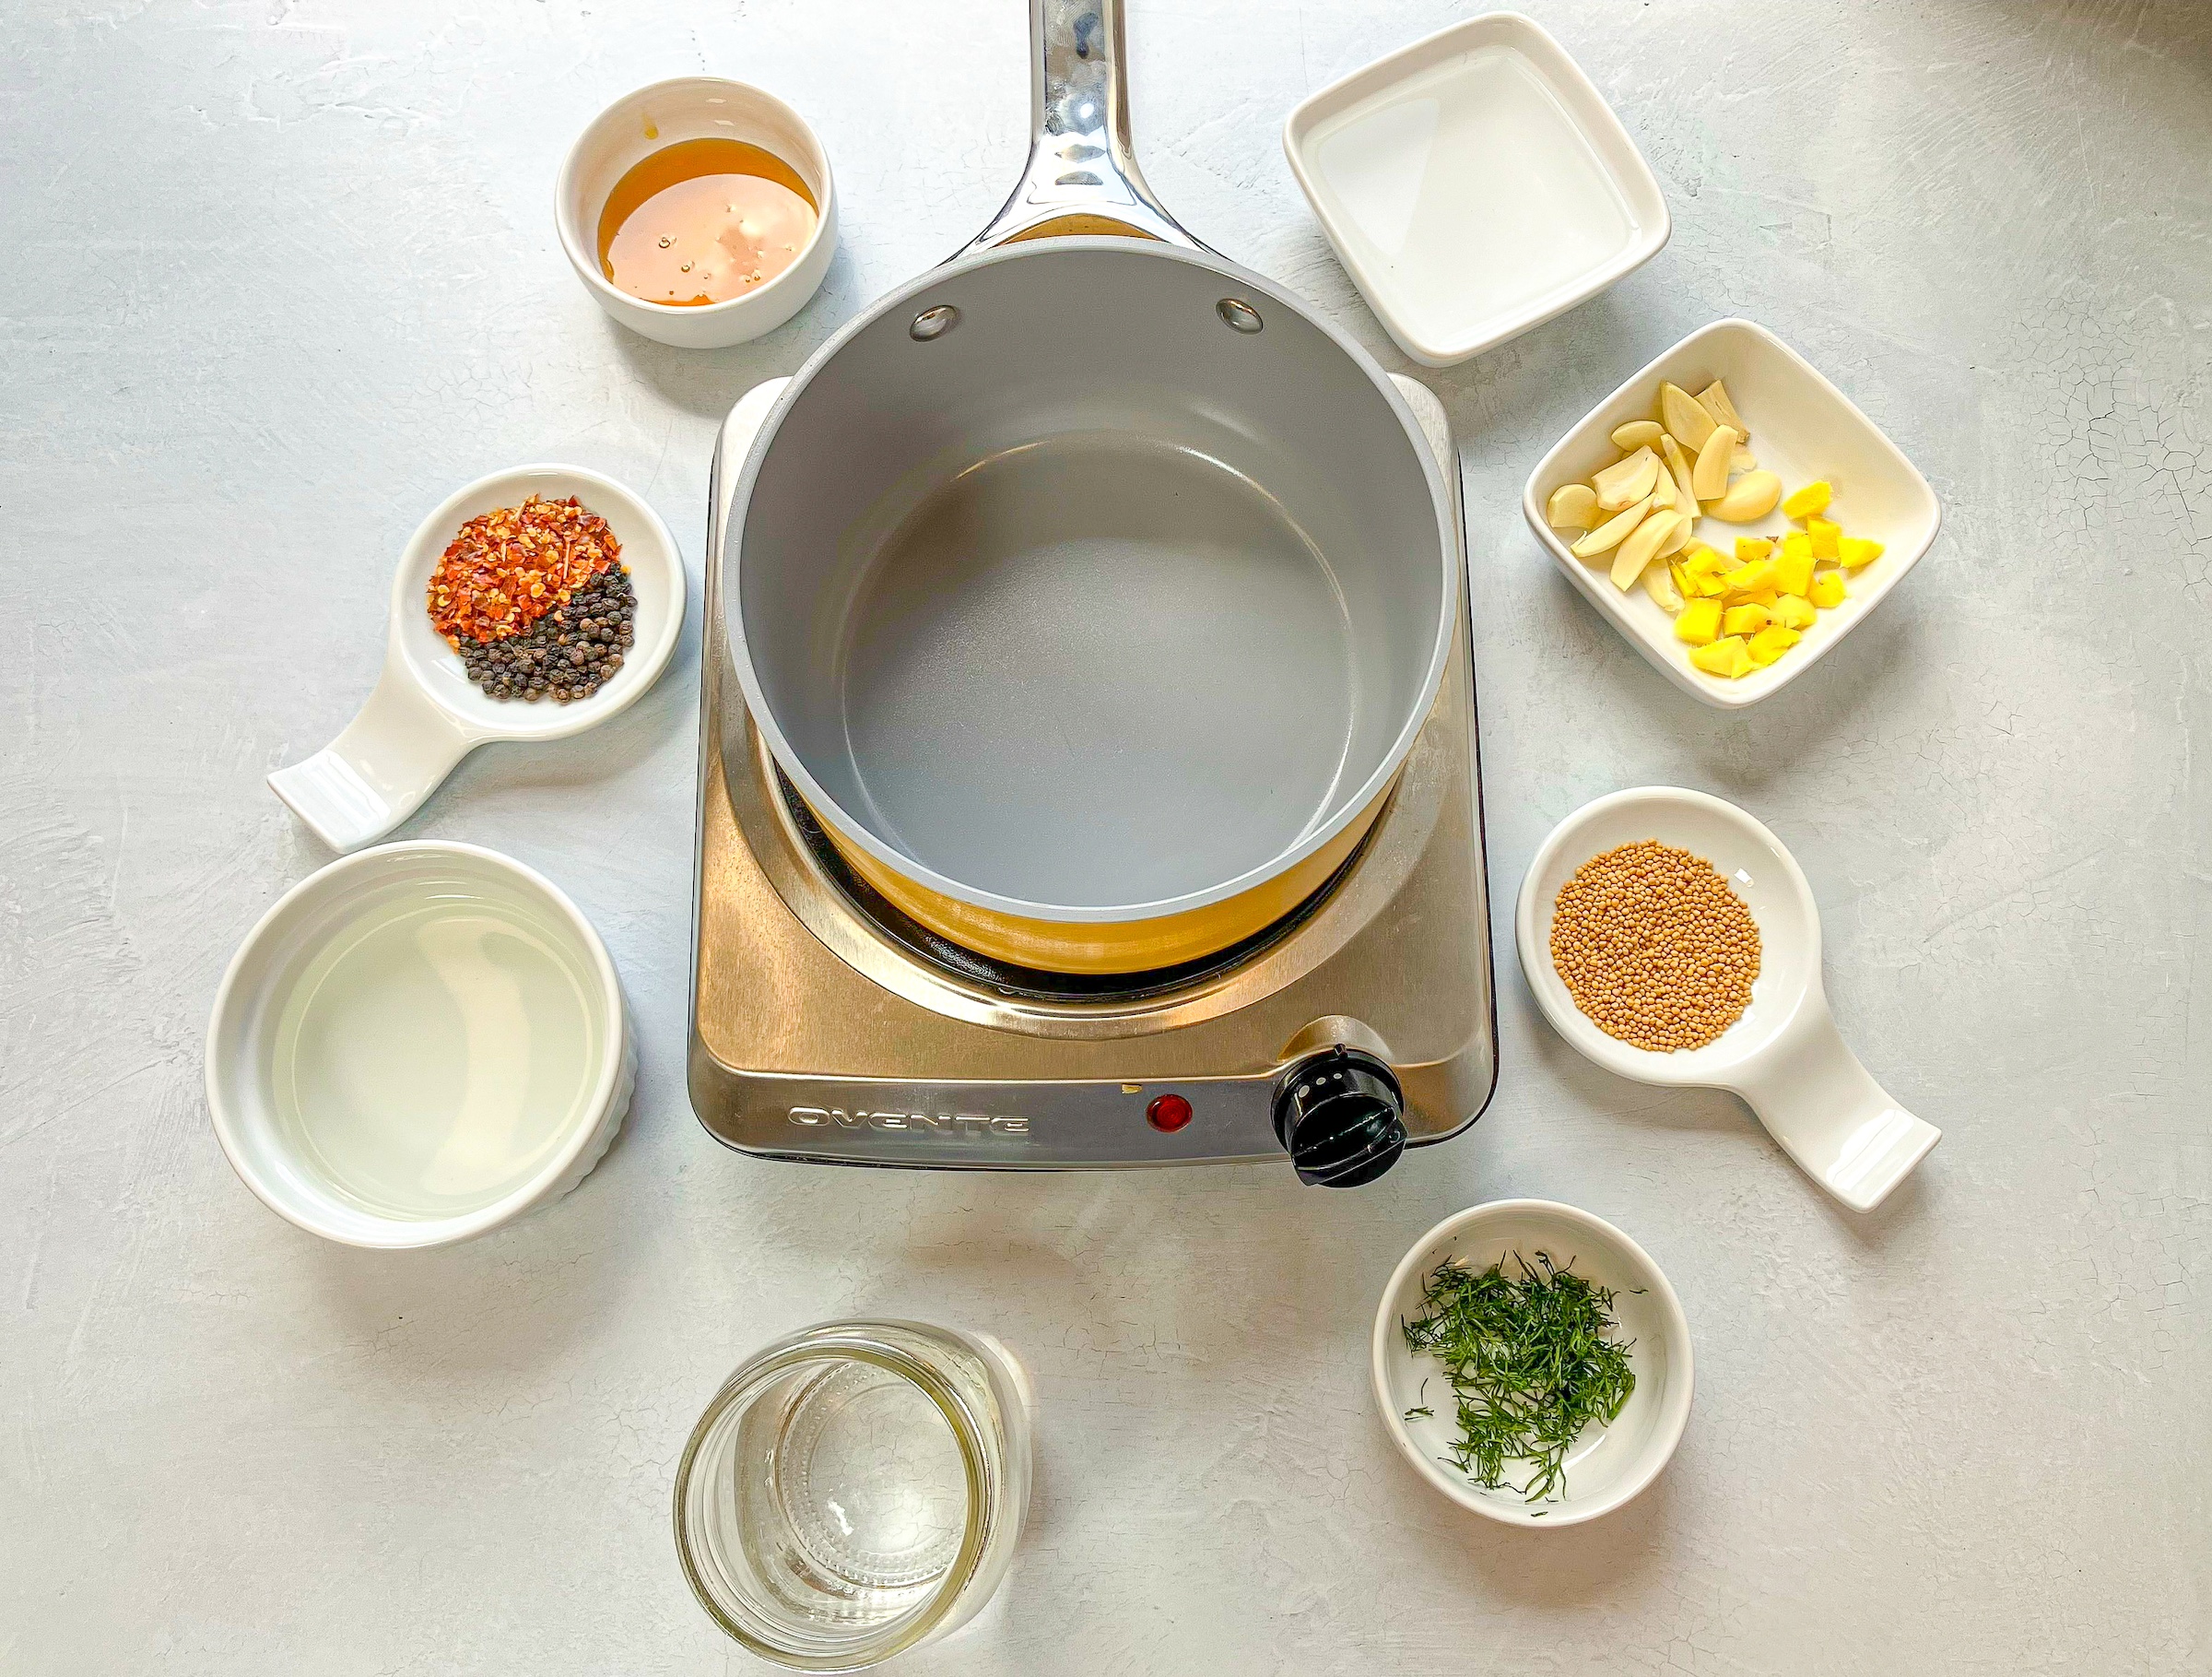
1 lb okra, de-stemmed
1/2 cups distilled white vinegar
1/2 cups white wine vinegar
3/4 cups water
4 tsp raw honey
1 clove garlic, peeled and sliced
2 in. fresh ginger, peeled and sliced
1 tbsp peppercorns (AIP – omit)
1 tbsp mustard seed (AIP – omit)
1 tbsp red pepper flakes (AIP – omit)
1 bunch dill
Directions
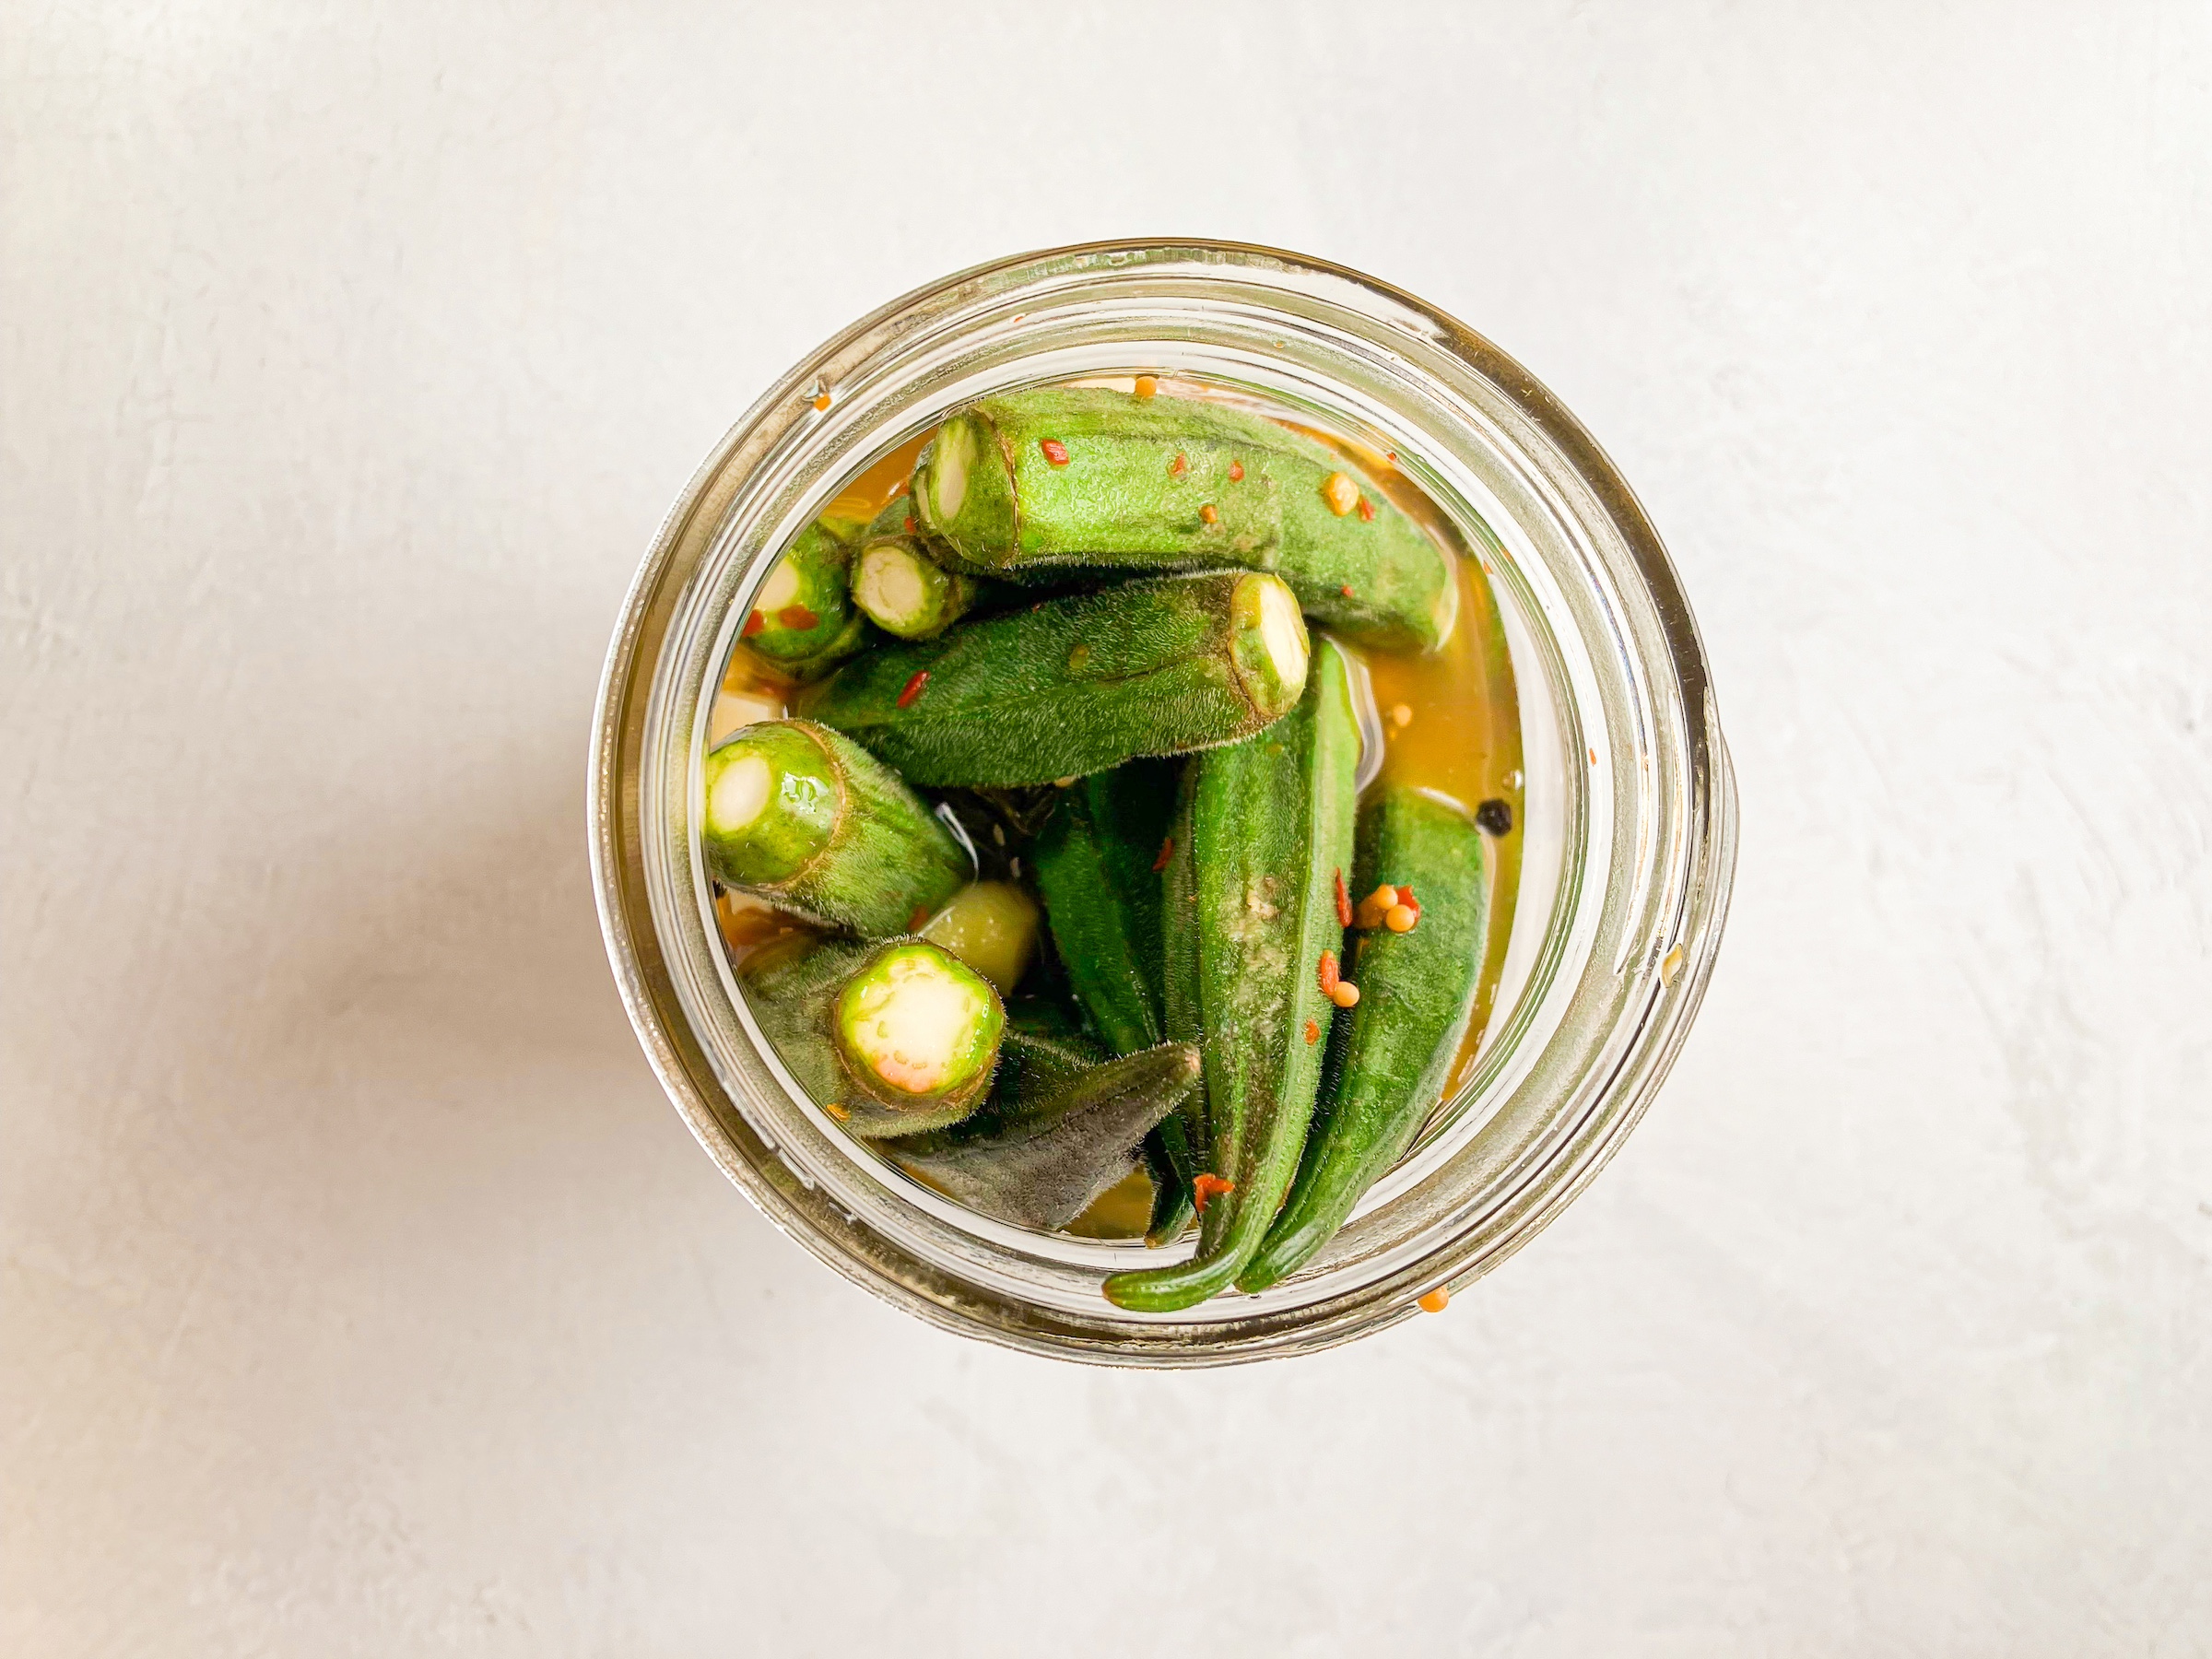
Place okra in a 16-ounce sealable mason jar.
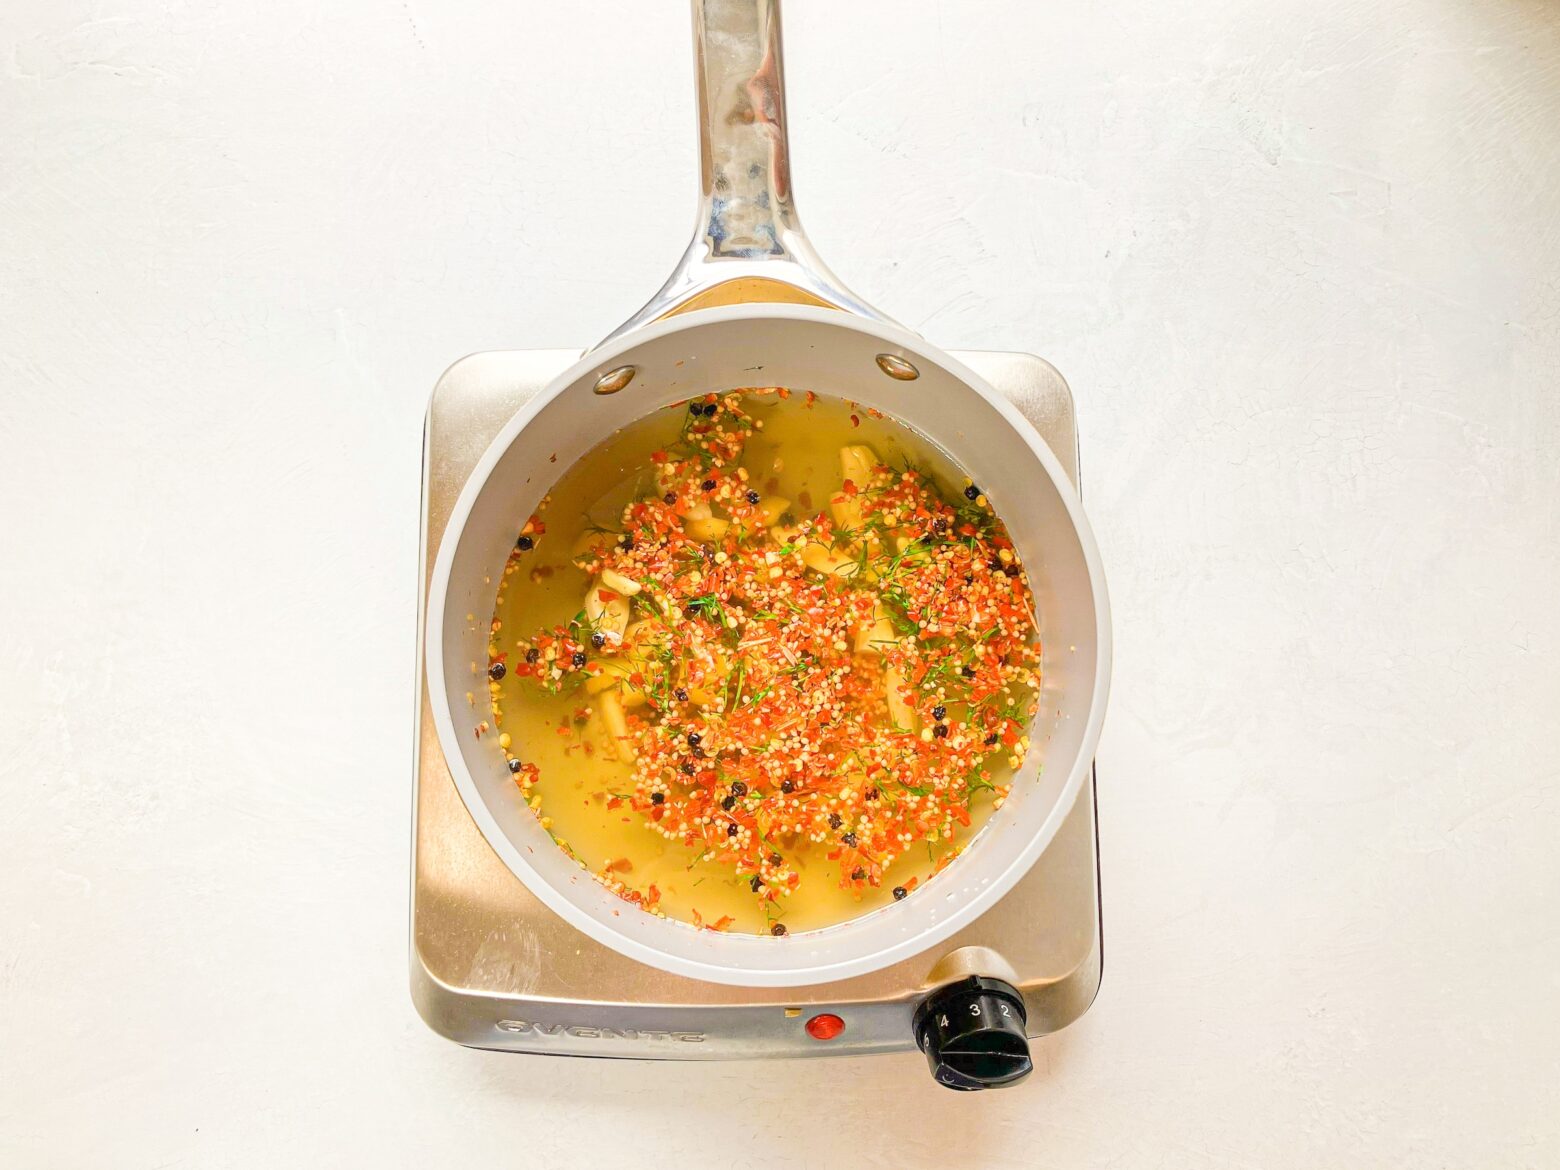
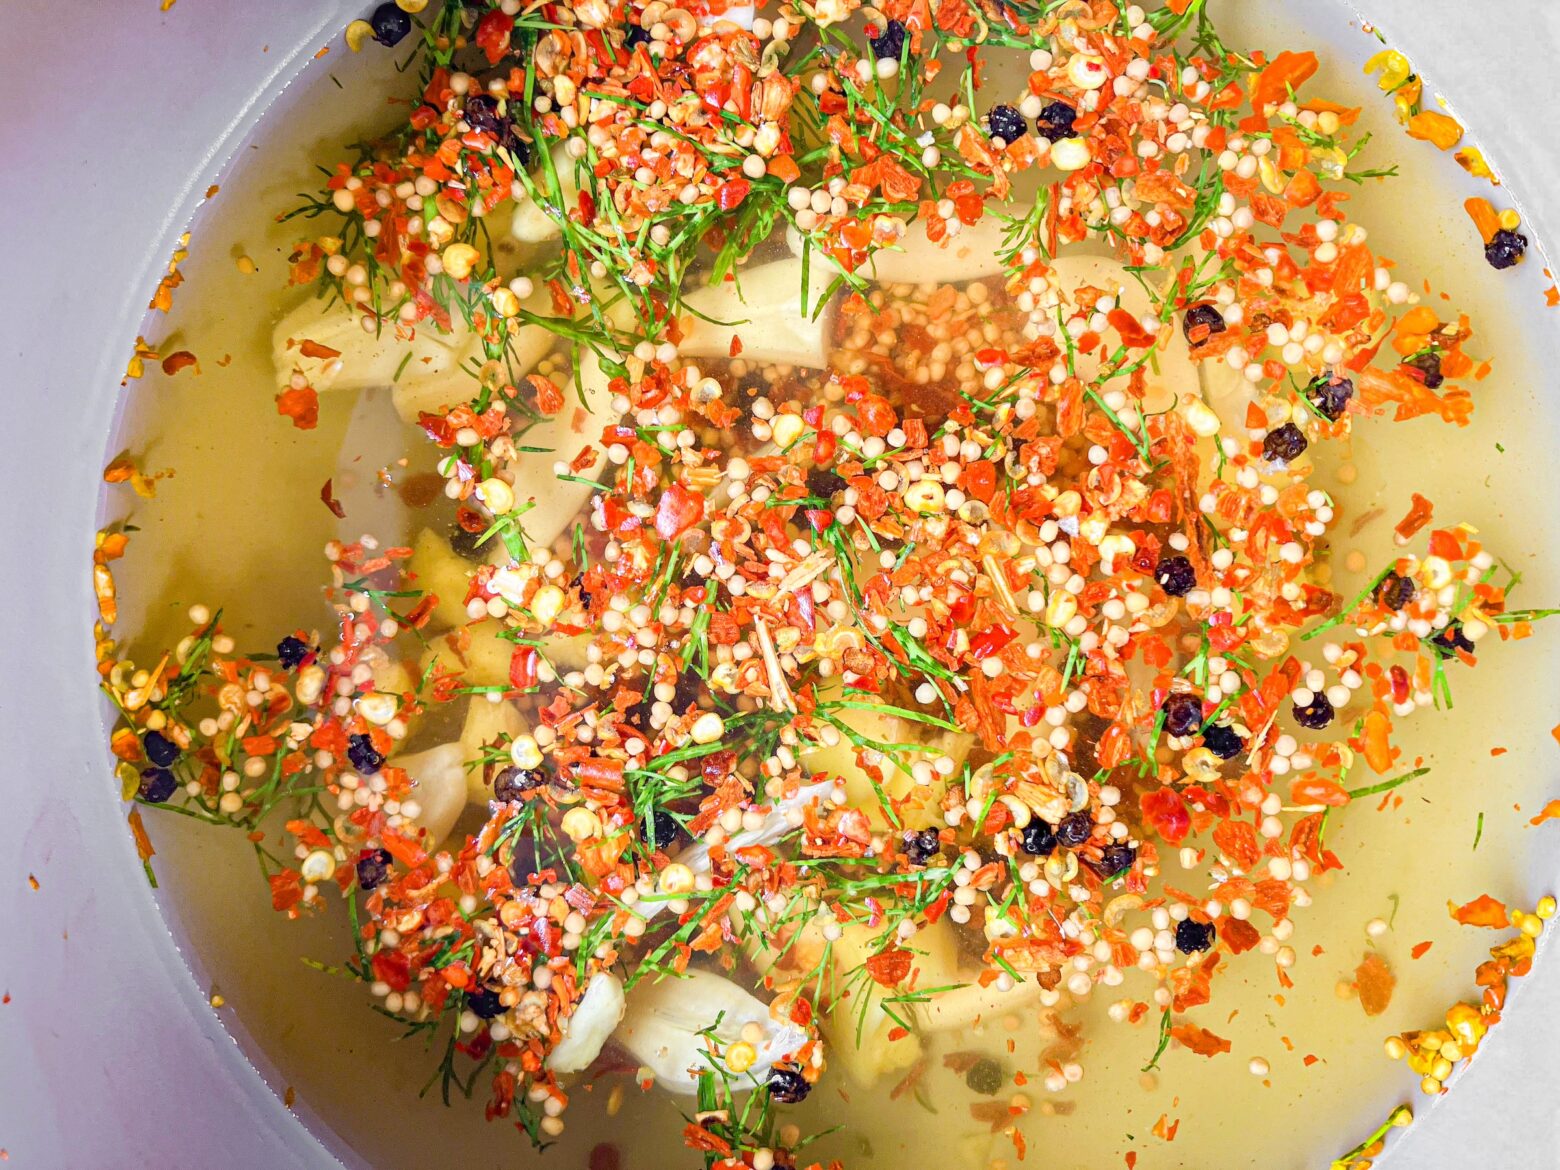
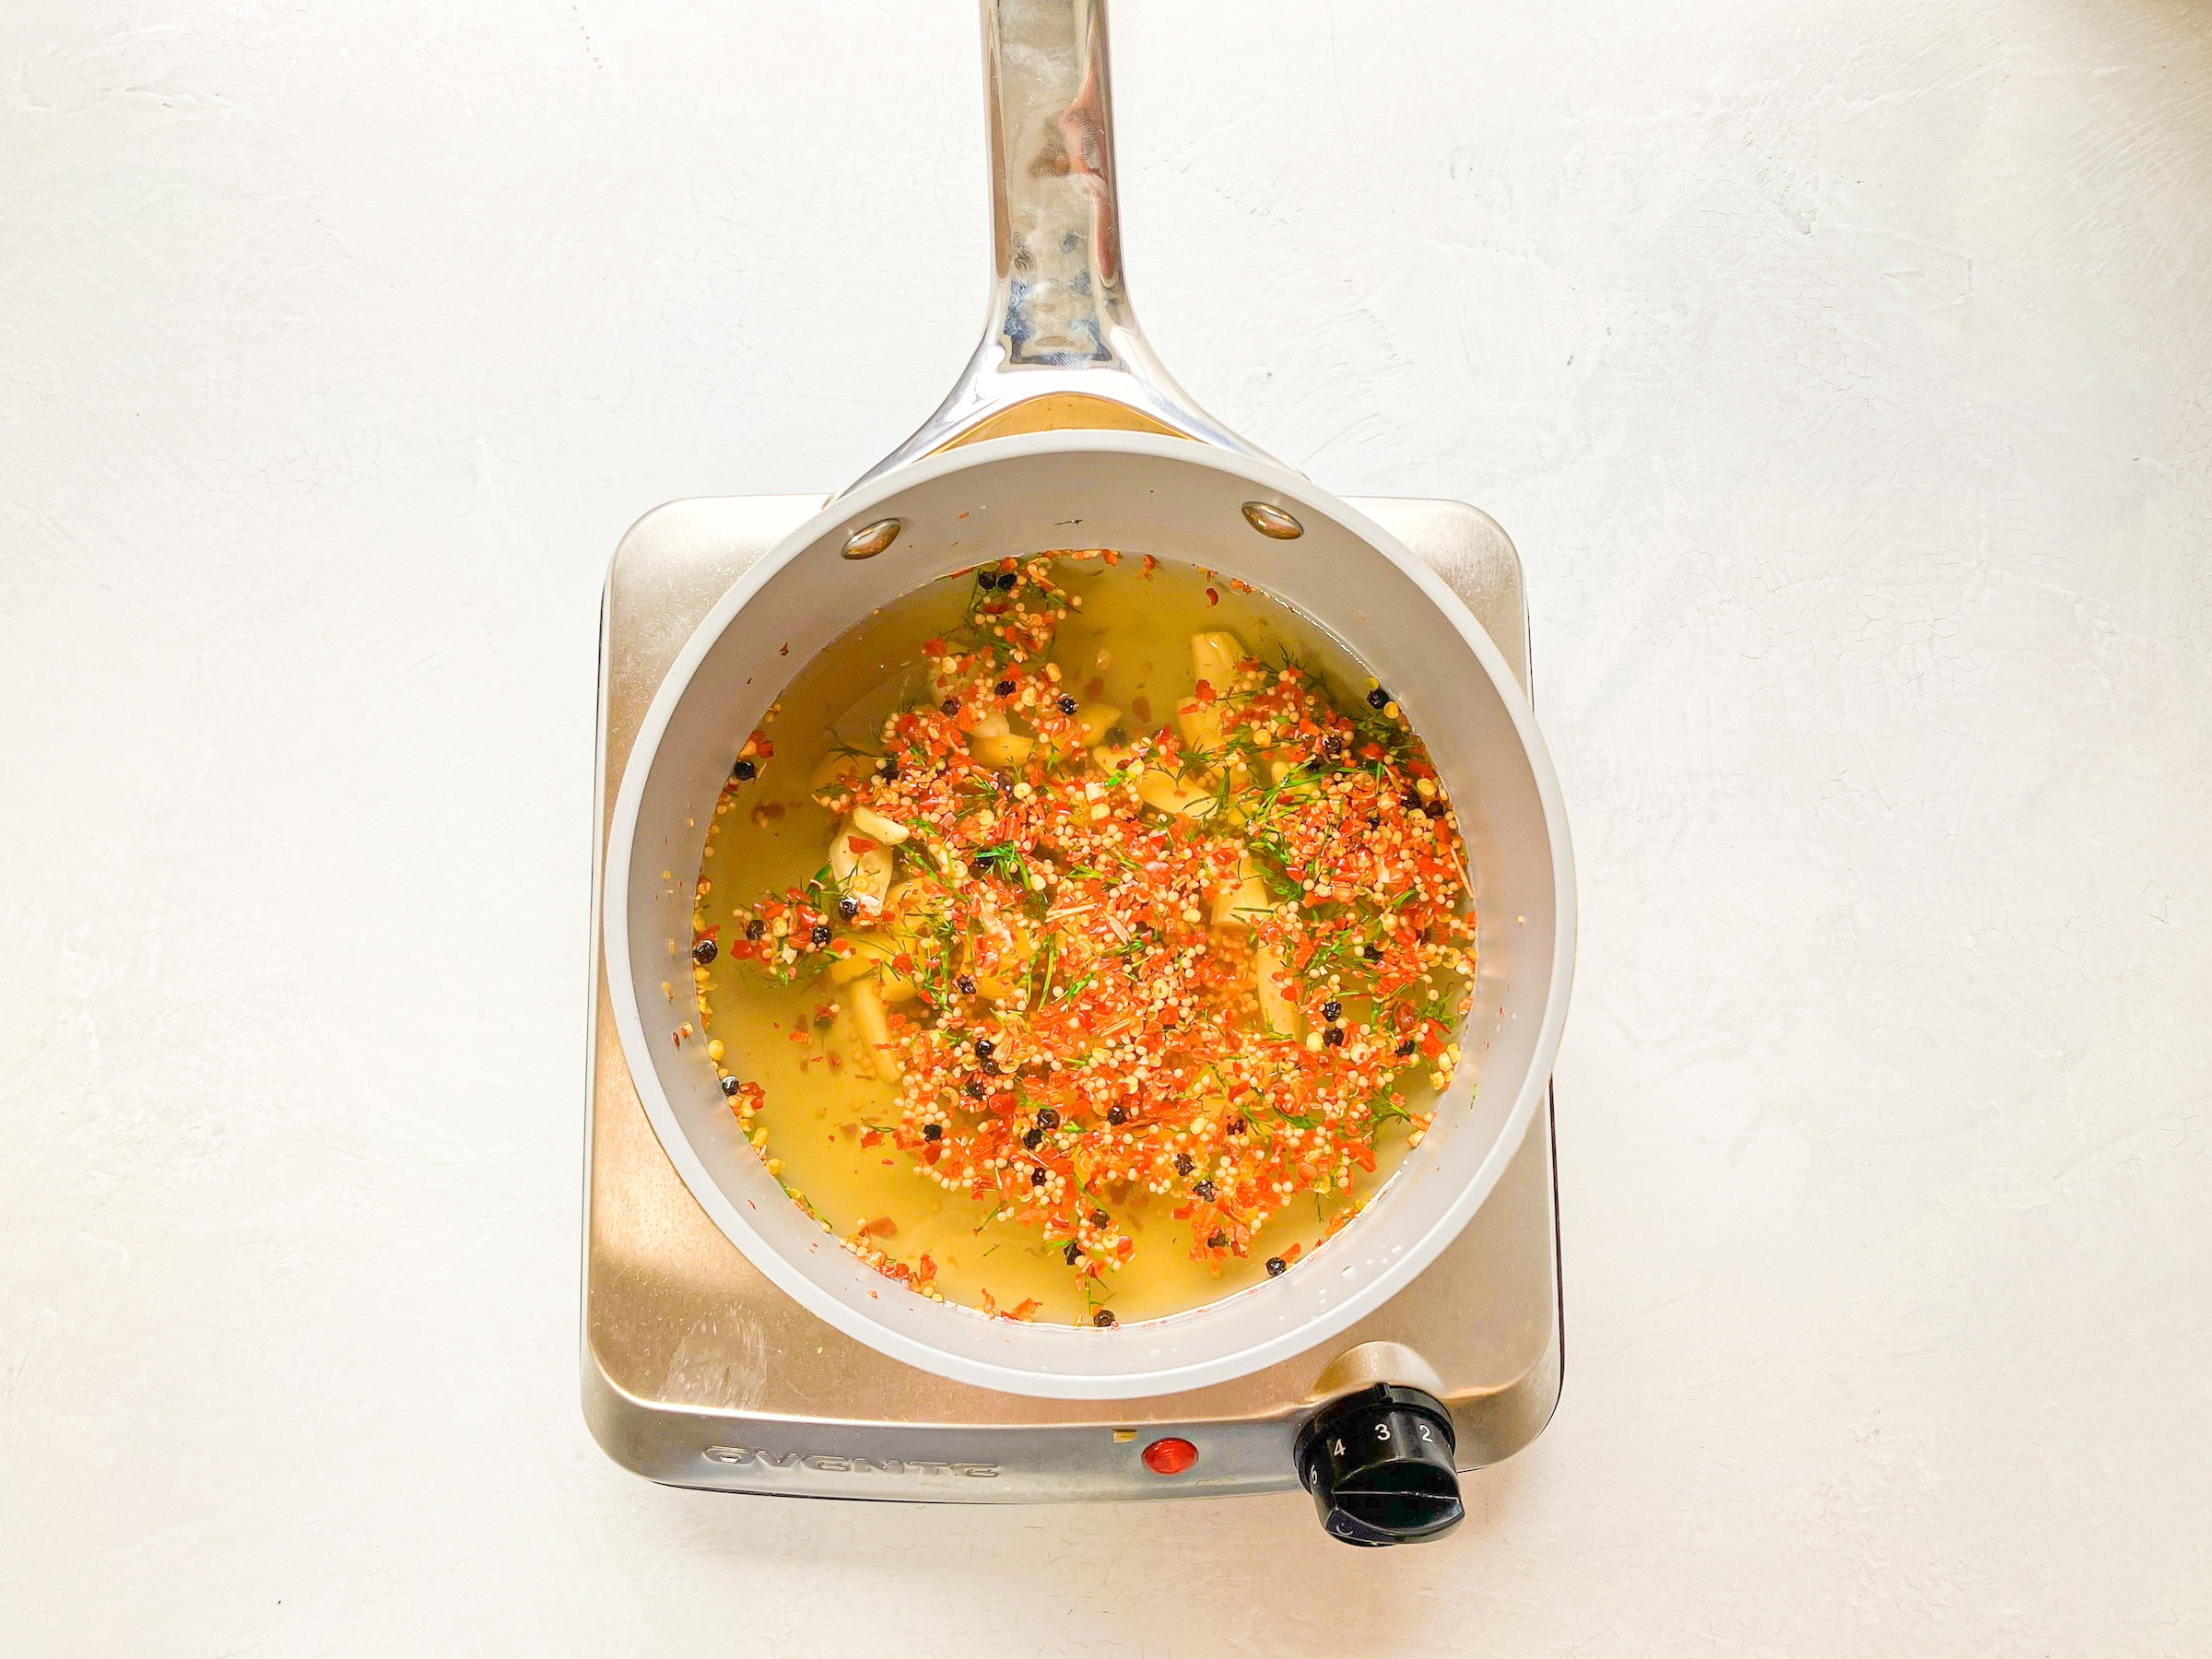
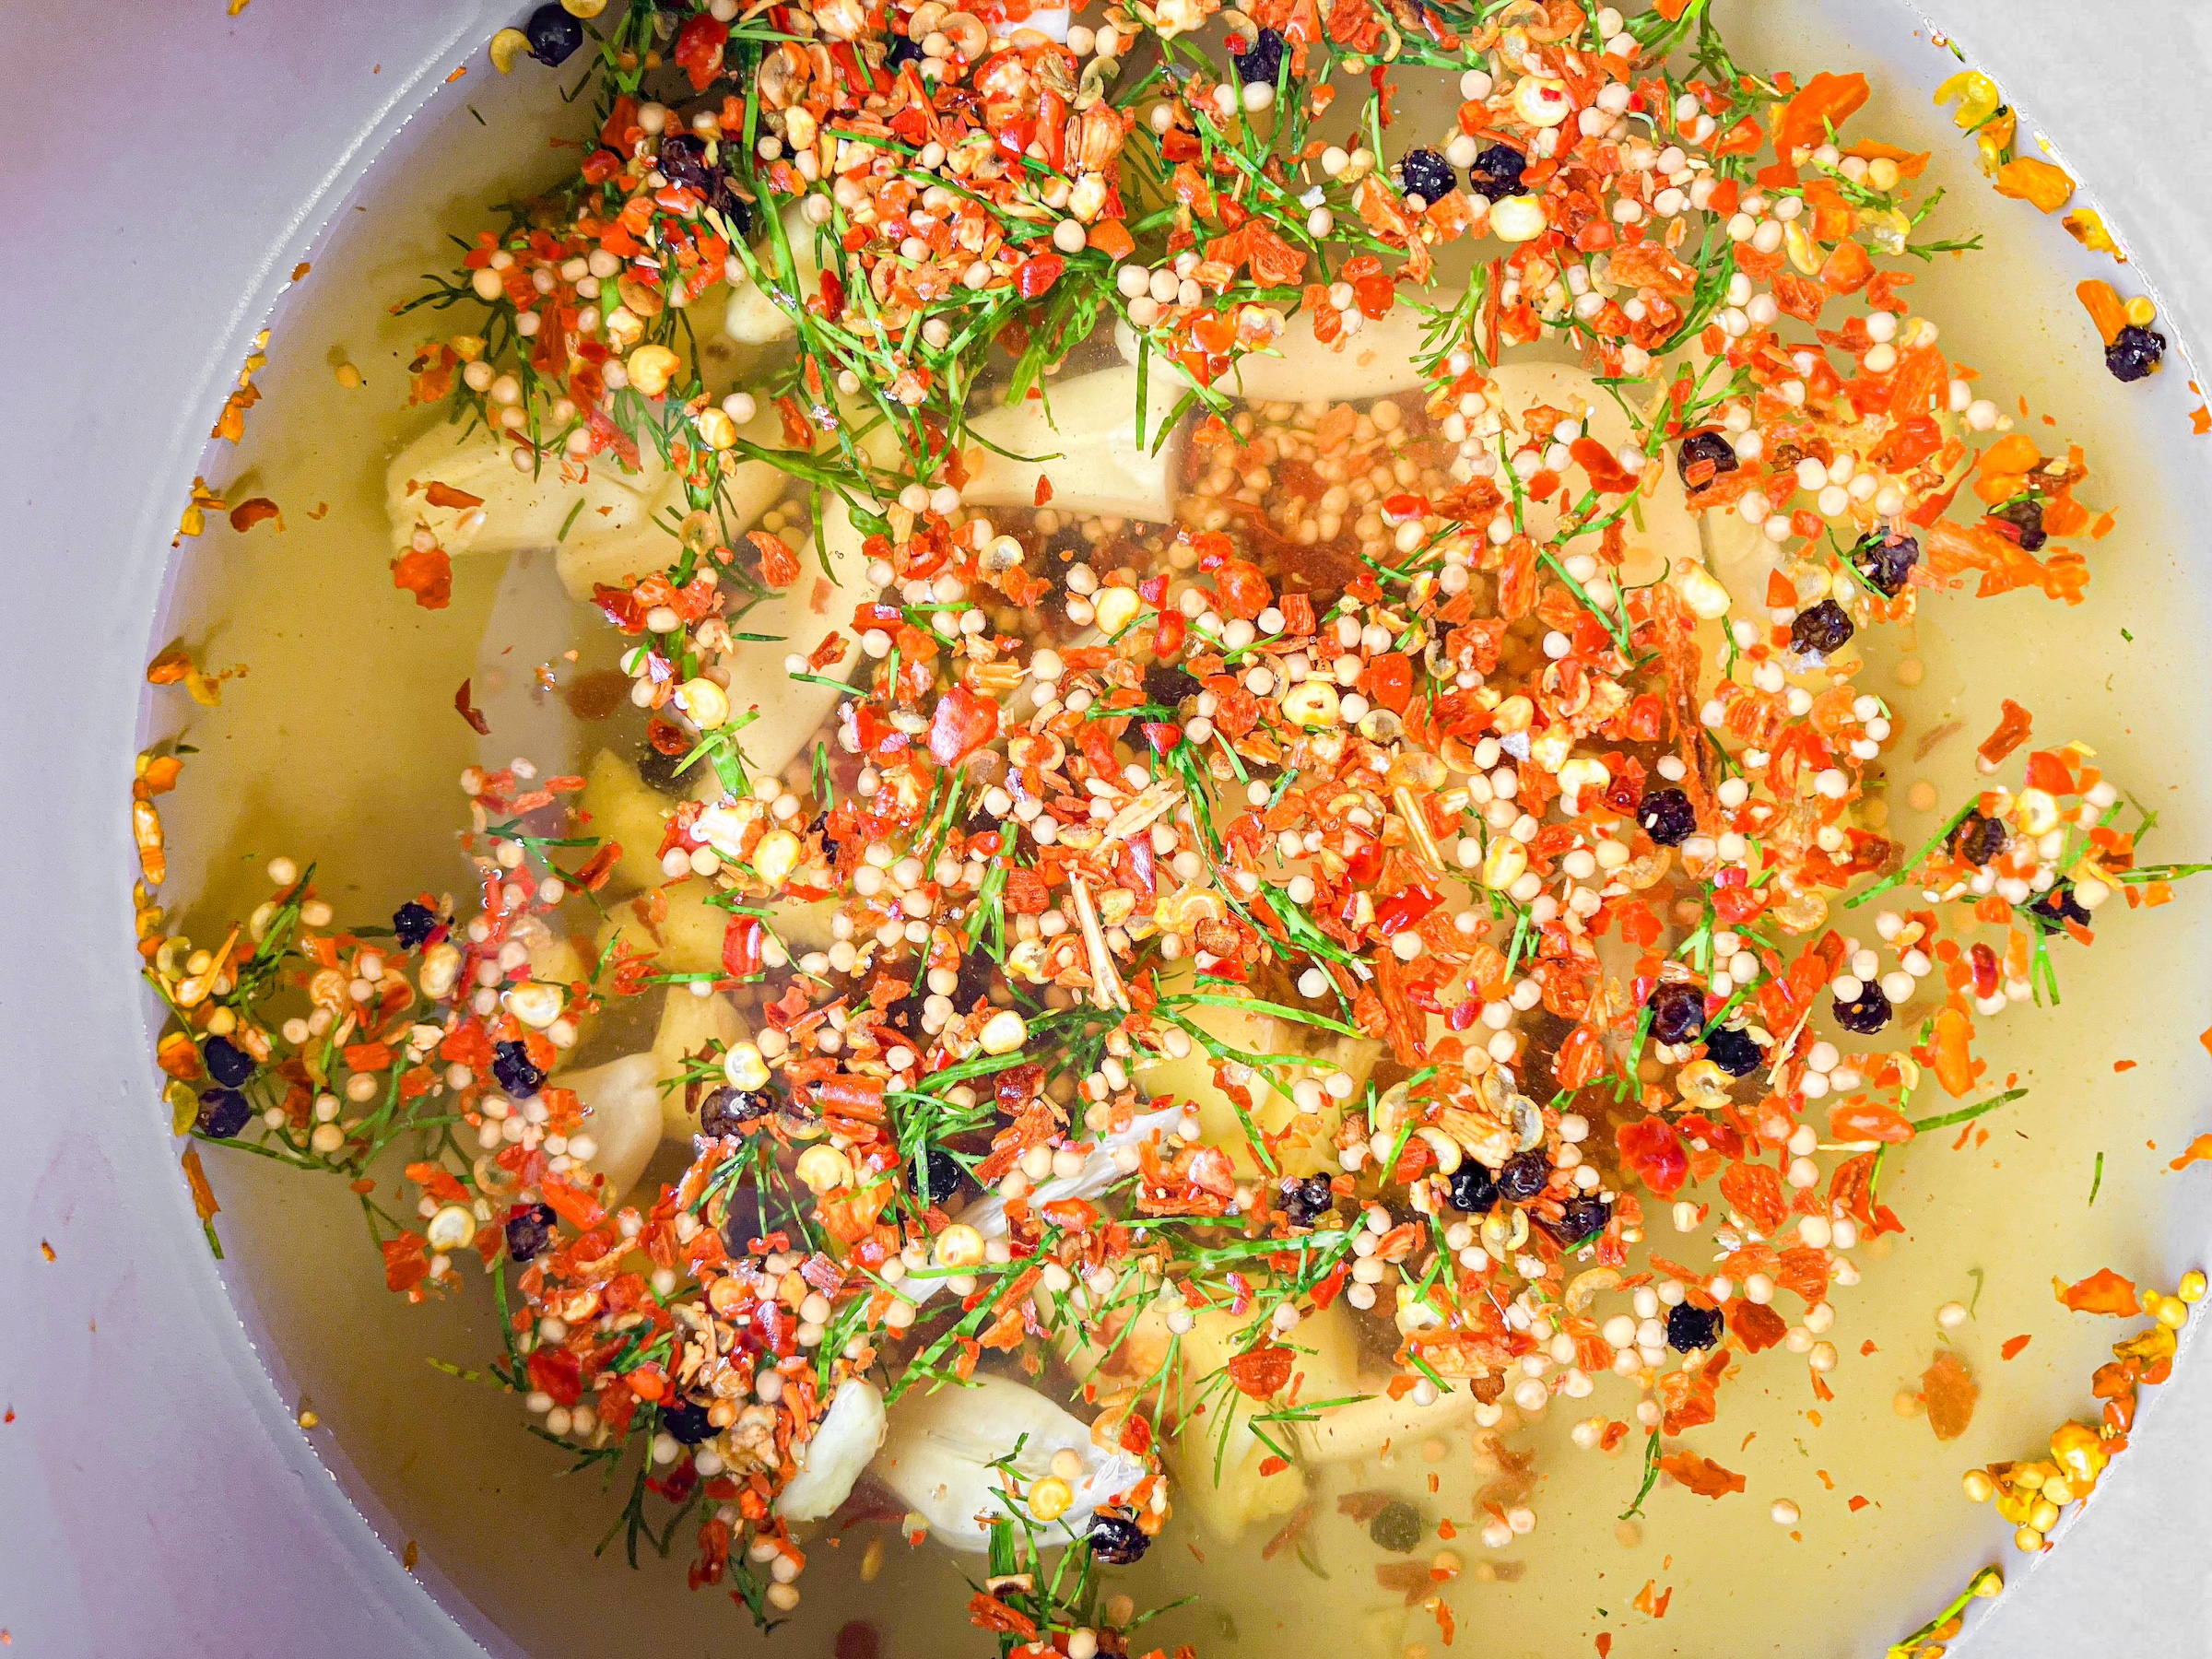
In a medium saucepan over low to medium heat, add white vinegar, white wine vinegar, water, honey, garlic, ginger, red pepper flakes, peppercorns, mustard seed, red pepper flakes, and dill. Cook for 10 minutes.
Let cool at least 5 minutes, then slowly pour pickling brine over okra. Seal the jar and place in the fridge to marinate for at least 24 hours.
Related Recipe
